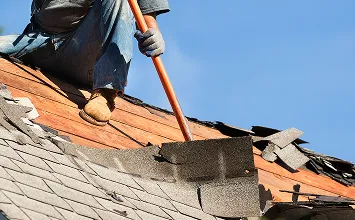
Step 1
Existing Roof Removal
The crew will begin with a complete removal of the existing roofing.
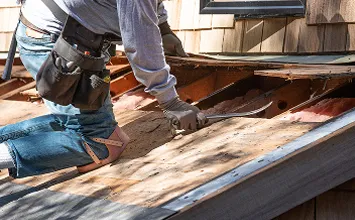
Step 2
Inspection
Once the old roofing is removed, we will inspect for any plywood damage and make repairs as needed. We will then install the hurricane reinforced roof-to-wall connection if necessary.

Step 3
Install SOL-R-SKIN
We start roofing installation by laying down a reflective insulation material to enhance the energy efficiency of your home.
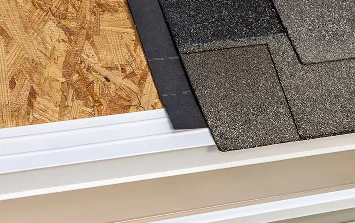
Step 4
Drip Edge and Starter Strip
We then add metal trim and starter strip along the edges of the roof to prevent water damage and secure the first row of shingles or metal panels.
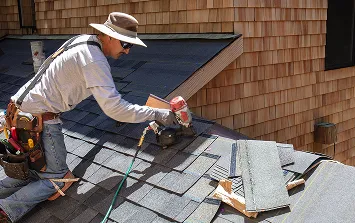
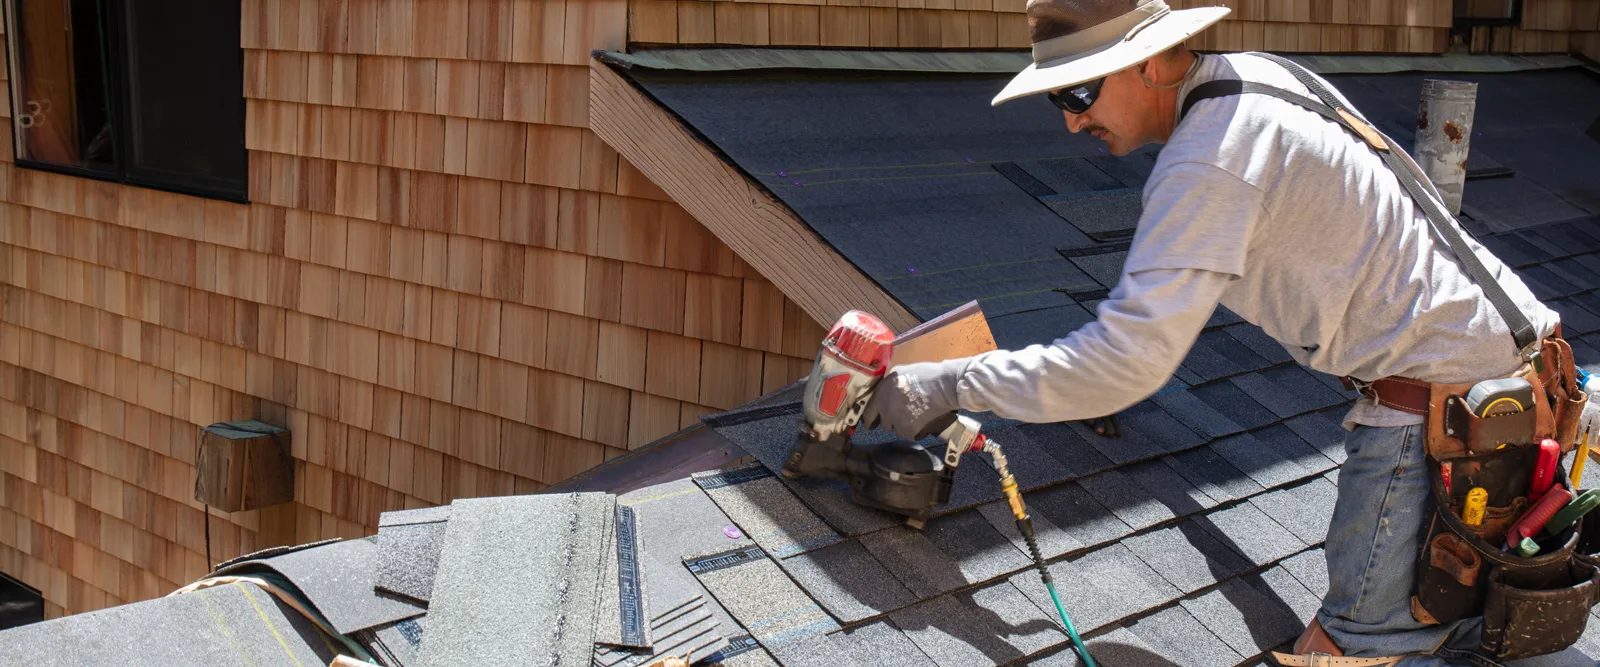
Step 5
Shingles or Metal Panels
Install roofing shingles or metal panels, starting from the eaves and working upward, ensuring each row overlaps the one below it to direct water away from the roof.
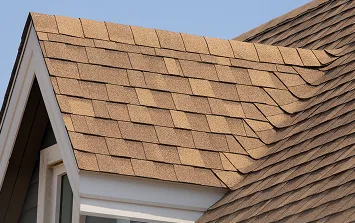
Step 6
Hip and Ridge Caps
Lastly, caps are used to cover and protect the peaks and valleys of a roof where two slopes meet.